How To Remove A Line In The Middle Of A Word Document
And the selected horizontal line will be deleted at once. Click Borders tab click None click OK.
How To Get Rid Of Unwanted Horizontal Line In Word Alexander S Blog
Put the insertion point within the paragraph that seems to have the extraneous blue line above it.
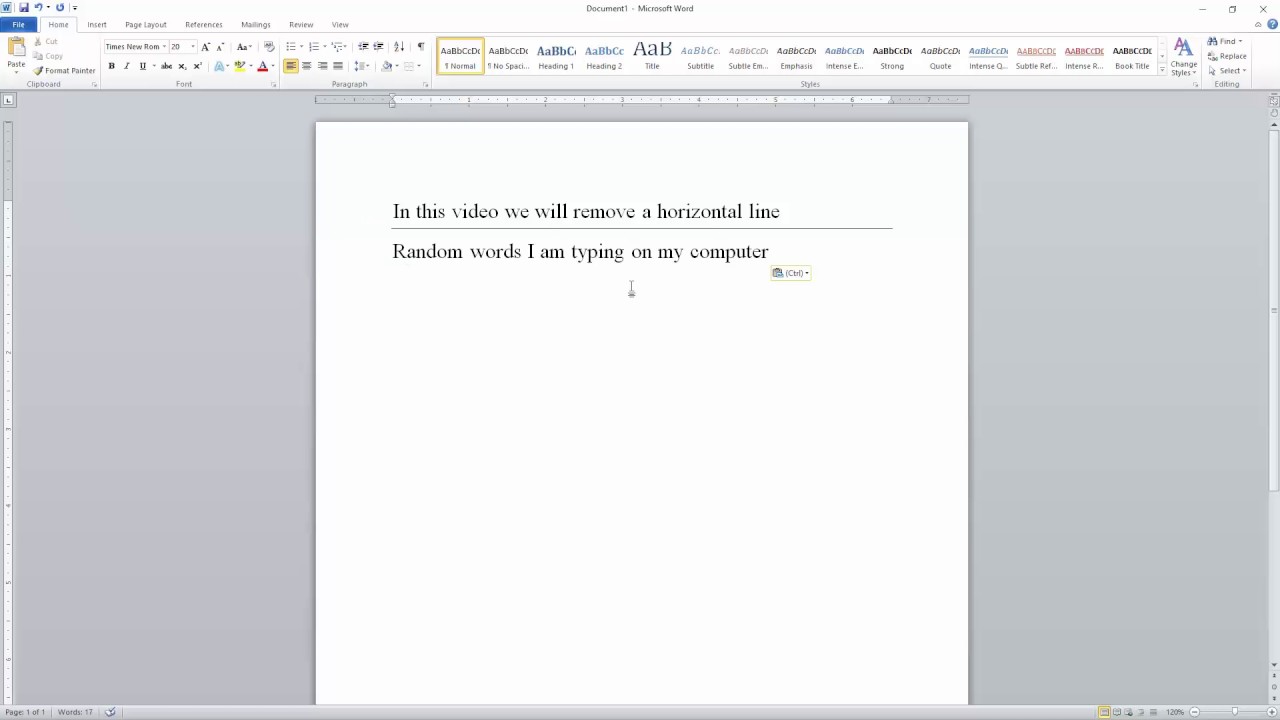
How to remove a line in the middle of a word document. 1Click to place your cursor above the line. 2Click on the Home tab at the top of your screen. It is not a real line.
Word displays a long list of options. Type tab clear the Border Lines check box which is located in. Put the cursor above the line.
Disable the selection of Show crop marks. Click OK to implement it. Click the Home tab in the Ribbon.
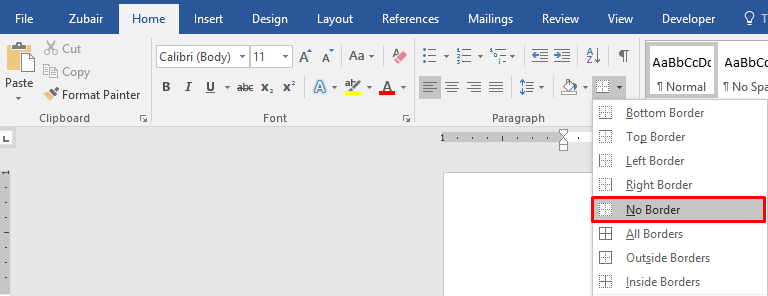
3Click on the drop-down arrow next to the Borders button toward the middle of the Ribbon in the Paragraph group. Verify that a page of content is selected and then press Delete on your keyboard. Click directly above the line.
But if you just want a pure blank page without seeing any mark on it try following steps. Press Enter on your keyboard and then select Close. If you later want to delete the line there are two things you can do that will help you.
You can undo this by immediately pressing CtrlZ. Click the dialog box launcher on the bottom right corner of the Paragraph group. Go to the Home tab in the Ribbon.
To remove blank pages in the middle or at the end of your document see Delete a blank page. Repeat for the other lines---. From the menu that opens select No Border to delete a horizontal line in an MS Word document.
3 the end result will be the right align tab shown at 3. Next to the color fill tool you will see the border button. To disable this feature in Word 2003 on the Tools menu click Autocorrect.
The lines are probably paragraph borders. There are a few methods for either undoing or removing the horizontal line or preventing Word from automatically creating it. If you cant select a line to delete it might actually be a horizontal line which is a type of border.
MS Words extensive features can sometimes surprise even the most well-versed users. Display the Home tab of the ribbon. Click the line connector or shape that you want to delete and then press Delete.
Click immediately above one of the lines. 4 enter a value for the right align tab I used 694. On the Home tab of the ribbon in the Paragraph group click the dropdown arrow on the right hand side of the Borders button and select No Border from the dropdown menu.
Then the horizontal line was removed from the header of your Word document immediately. If you later want to remove the line it helps to understand how Word added it in the first place. Delete lines or connectors.
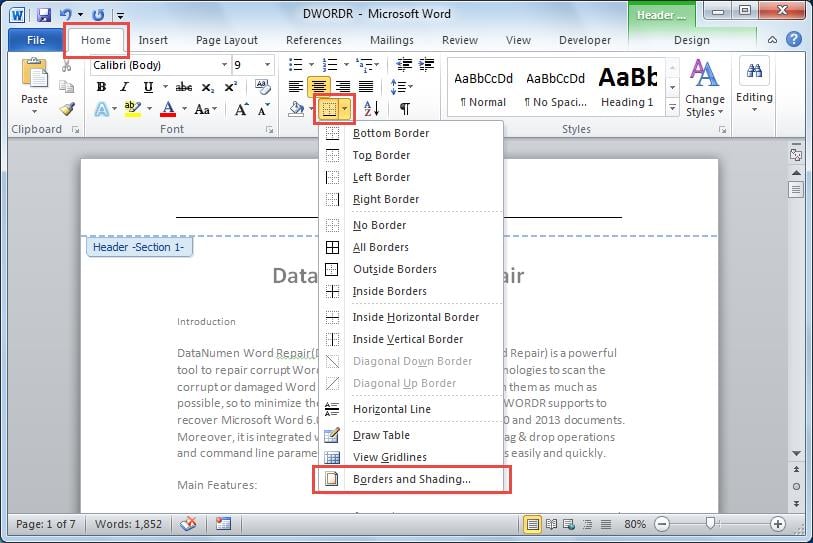
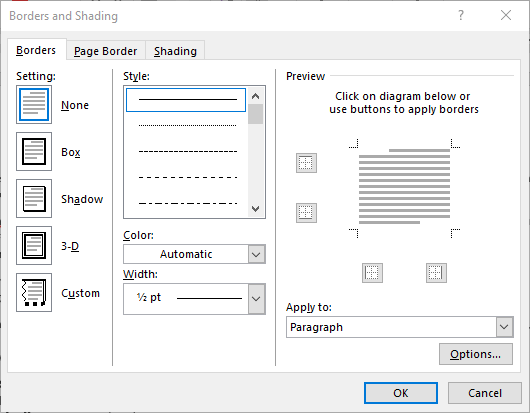
Within the Paragraph section click the dropdown arrow next to the Borders icon and select No Border. Click the down-arrow at the right of the Borders tool. Word displays the Borders and Shading dialog box.
If you want to delete multiple lines or connectors select the first line press and hold Ctrl while you select the other lines and then press Delete. While you cant use the Backspace or Delete keys to get rid of it you can still nix that line. 2 click on the tabs button in bottom right of the paragraph dialog.
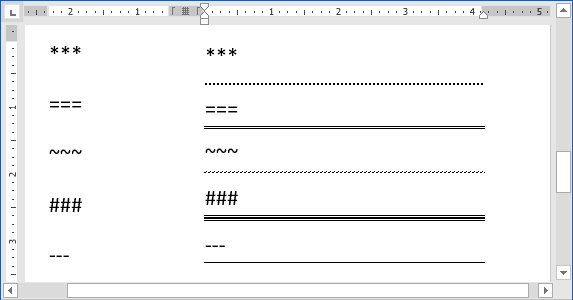
Select the paragraph or paragraphs. The first method is to press Ctrl Z right after typing the characters and pressing Enter to undo the automatic creation of the horizontal line. Then in the Autocorrect Options dialog box on the AutoFormat As You.
Click Line and Page Breaks. If you just want to remove few horizontal lines you can manually remove them as follows. 1 click on the Paragraph dialog launcher.
When you pressed Enter at the end of your characters the ones Word replaced with its line Word removed the characters and added a border to the paragraph just before where you typed the characters. In the Borders and Shading dialog box under the Borders tab select None in the Setting pane choose Paragraph from the Apply to drop-down list and then click the OK button. Click the drop-down next to this button.
Click on No Border. First remember that the line added by Word is really a paragraph border. The Paragraph dialog box appears.
Heres how to make it so this Word doesnt do this again. Click on the Page Borders item in the Page Background group of Design tab. Second you need to display Words non-printing characters.
When it is set you just use one tab character to space the lines Word will handle the alignment. Problem solved with no thanks to Microsoft on this one. To stop words from splitting across lines in a paragraph or paragraphs by turning off automatic hyphenation.
Right click the illustration which is in the middle of the following page select wrap text which brings up another menu select move to front MAGIC. Click File Options Advanced. Scrolling down the page till find the section of Show document content.
Click the last option.
How To Add And Remove Horizontal Lines Between Sections Of The Document Microsoft Word 2016
2 Ways To Remove The Horizontal Lines In The Header Or Footer Of Your Word Document Data Recovery Blog
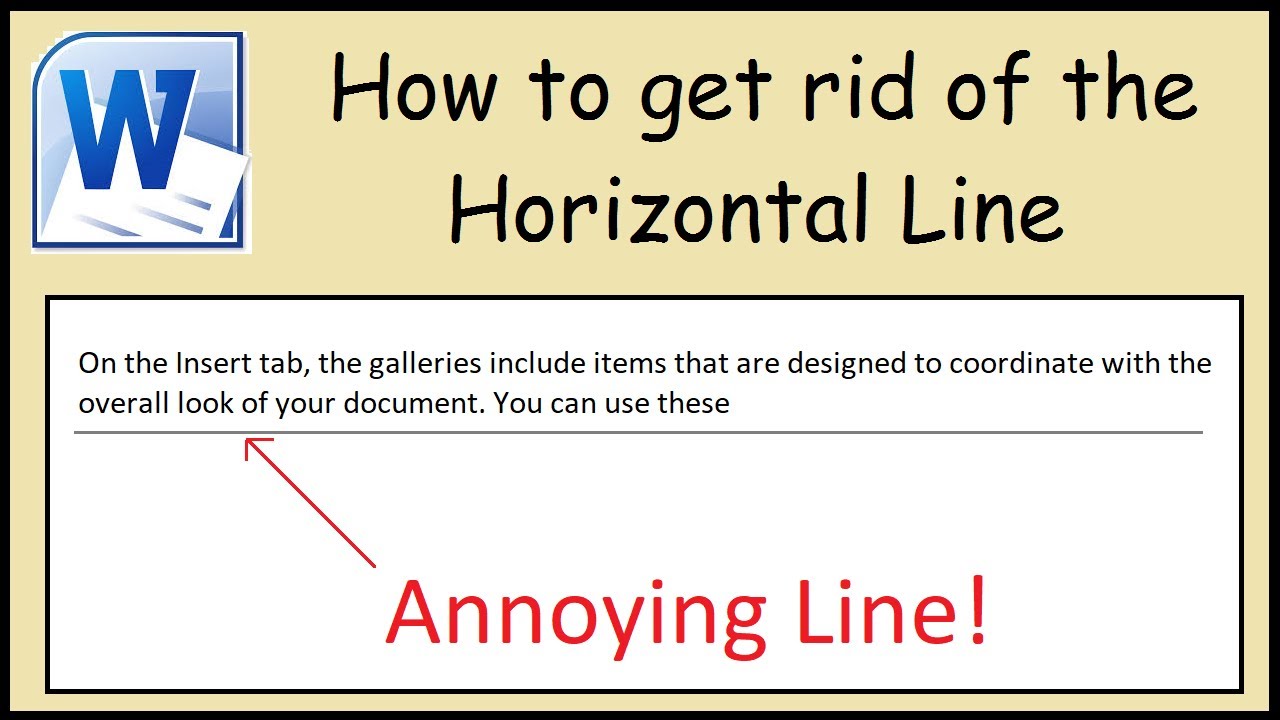
Mysterious Blue Line Between Paragraphs Microsoft Word
How To Remove Line Breaks In Word 2016 Mechanicalengblog
How To Remove A Page Break In Microsoft Word
Removing A Horizontal Line In Word Youtube

How To Remove Automatic Horizontal Lines In Word
How To Remove Table Lines From A Microsoft Word Document Microsoft Office Tips Youtube
How To Remove The Horizontal Line In Microsoft Word Youtube
Post a Comment for "How To Remove A Line In The Middle Of A Word Document"